16347 Views
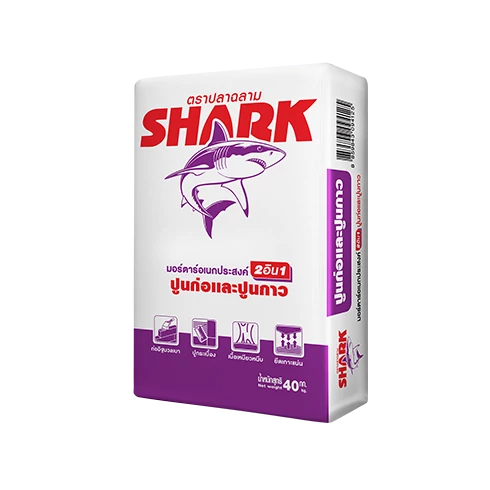
SHARK 2IN1 TILE FOR LIGHTWEIGHTBLOCK&TILING
SHARK 2IN1 TILE FOR LIGHTWEIGHTBLOCK&TILING is a high-performance, multi-purpose cement adhesive designed to meet both construction and bonding needs. It combines ease of use, quick installation, and exceptional bonding strength, making it ideal for tile installation and the attachment of lightweight materials. This product is perfect for professional construction projects that demand both durability and aesthetic appeal.
Film type
Grey
Quantity
20 kg., 40 kg.
Download Document
Product Usage
Masonry Mortar for Lightweight Block
- Lightweight brick construction and installation of prefabricated lightweight wall panels (AAC Panel)
- Can be used for both interior and exterior construction or installation.
- Provides high adhesion within 10 seconds.
Tile Adhesive
- For general tiles, ceramic, terracotta, and granito tiles.
- Suitable for both floors and walls, interior, Maximum Size 60 x 60 cm.
How to Use
Masonry Mortar for Lightweight Block
- Sweep away all dust and debris from the bricks. No water is required for lightweight blocks; they can be laid dry.
- Mix 40 kg of SHARK 2IN1 FOR LIGHTWEIGHTBLOCK&TILING with 9–10 liters of clean water (23–25% of cement weight) or at a ratio of 3:1 (cement to water). Stir using a drill mixer at approximately 400–600 RPM until a homogeneous mixture is achieved. Let the mixture rest for about 5 minutes.
- Position the lightweight block at an angle to the floor. Using a laying trowel, scoop an appropriate amount of prepared mortar. Apply and spread the mortar evenly along the full length of the block edge and across the block head. Observe the mortar’s consistency as described below:
- If the mortar is too fluid, the trowel ridges will not hold their shape when the block is tapped in place. Remedy by adding more mortar mix.
- If the mortar is too thick, the trowel ridges may break. Adjust by adding water to the mixture.
- Construct the wall following the standard lightweight block laying procedure, using a mortar thickness of 2–3 mm for lightweight blocks sized 20×60×7.5 cm.
- Position the mortar-coated lightweight block onto the designated course. Adjust its alignment using a rubber mallet and tap it firmly. Remove excess mortar with a trowel before continuing with the next block.
Tile Adhesive
- Prepare clean and dry tiles before installation (Do not soak the tiles in water).
- Mix 40 kg of SHARK 2IN1 FOR LIGHTWEIGHTBLOCK&TILING with 9-10 liters of clean water (23-25% of cement weight) or at a ratio of 3:1 (cement to water). Stir using a drill mixer at approximately 400-600 RPM until a homogeneous mixture is achieved. Let the mixture rest for about 5 minutes.
- Apply the mixed tile adhesive onto the prepared floor or wall surface using the flat side of a notched trowel. Each application should not exceed 1 square meter. Then, use the notched side to comb the adhesive evenly
- Spread a thin layer of tile adhesive on the back of each tile to reduce air voids, compensate for tile warpage, and enhance bonding strength.
- Place the tile onto the adhesive, adjust it to the correct alignment and level, and press firmly using a rubber mallet or the handle of the trowel to eliminate trapped air and ensure full contact. Leave a joint space of at least 2 mm for grouting.